
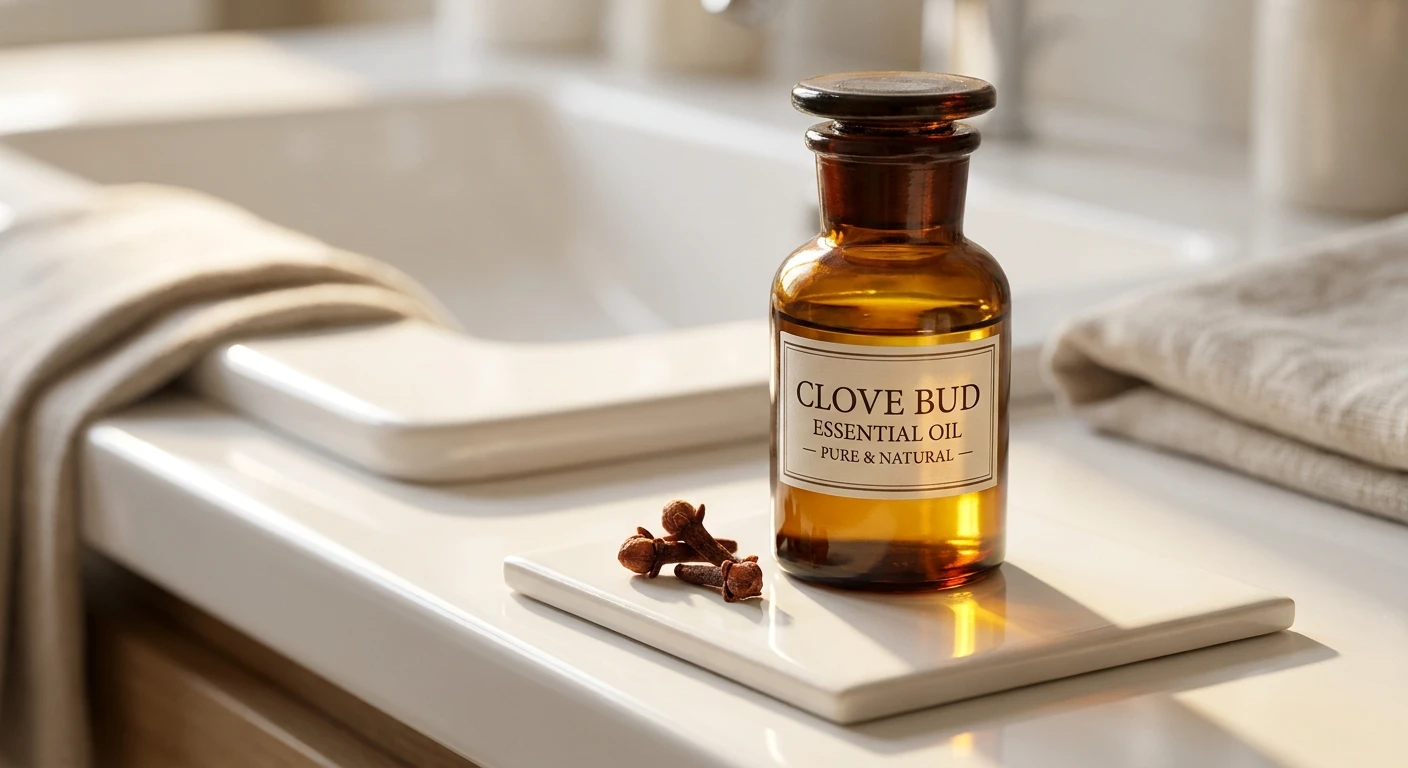
The Ultimate Truth About Using Clove Oil For Mould
If you are entirely tired of harsh chemicals failing you, reaching for clove oil for mould is the smartest move you will make this season. Listen, I have been exactly where you are right now. A few years back, during a particularly brutal and damp winter in my old Kyiv apartment, the condensation on the windows was relentless. Before I knew it, terrifying black spots started creeping up the bathroom tiles and across the ceiling corners. I panicked and did what most people do: I scrubbed it with pure bleach. It looked clean for about a week, but then the dark patches returned, spreading even faster than before. That is when a good friend told me I was doing it all wrong. Bleach only strips the colour out of the fungi, rendering it invisible while the roots stay completely intact and angry. You need something that penetrates the surface and destroys the actual root system of the fungus. That is exactly what we are discussing today. I am going to walk you through exactly why this potent natural remedy works, how to mix it properly, and how to reclaim your living space without exposing your lungs to toxic fumes. The thesis here is simple: natural does not mean weak; in the battle against fungal invasions, this essential oil is the undisputed heavyweight champion because it attacks the biological structure of the spores directly, ensuring they never return to your walls.
Why This Botanical Extract Outperforms Synthetics
So why does everyone keep raving about this specific extract? The core benefit lies in its active compound, which literally ruptures the fungal cell walls. When you spray standard supermarket cleaners, you are mostly applying water and sodium hypochlorite. The water feeds the hidden root system (the mycelium), while the chemical merely bleaches the visible heads (the hyphae). By contrast, an oil-based botanical spray sticks to the surface, penetrates porous materials like drywall or wood, and slowly suffocates the living organism.
| Cleaning Product | Efficacy on Deep Spores | Health & Respiratory Risk |
|---|---|---|
| Commercial Bleach | Extremely Low (Feeds roots) | High (Toxic fumes, skin irritant) |
| White Vinegar | Moderate (Kills surface layer) | Low (Safe but strong odour) |
| Clove Essential Oil | Maximum (Destroys root system) | Low (Natural, but requires dilution) |
Let me give you two real-world examples of how valuable this is. First, think about your bathroom ceiling. It is usually painted plaster or drywall, which is highly porous. If you spray a water-based cleaner, it just makes the plaster wetter. But applying a heavily diluted essential oil mixture creates a microscopic barrier that sinks into the paint and actively poisons the fungal network over 24 hours. Second, consider leather shoes stored in a damp closet. You absolutely cannot bleach leather without ruining it. A gentle swipe with this natural solution not only kills the fuzz growing on your favourite boots but also conditions the leather and leaves a protective coating that prevents future outbreaks.
To get started, you need to prepare your arsenal correctly. Here is exactly how to do it:
- Acquire the right grade: Buy 100% pure clove essential oil, not a synthetic fragrance or a pre-diluted massage blend. You need the raw, potent stuff.
- Prepare the base: Fill a clean spray bottle with one litre of water. For extra power, you can substitute half the water with white vinegar, though water works fine if you are sensitive to vinegar smells.
- Mix the ratio: Add exactly one quarter teaspoon (about 15 to 20 drops) of the essential oil to the water. Do not overdo it, as the scent is overpowering and pure oil can degrade plastics.
- Agitate thoroughly: Oil and water naturally repel each other. You must shake the bottle vigorously for at least thirty seconds right before every single spray to ensure an even distribution.
The Origins of Clove Harvesting
To really appreciate what you are using, we have to look back at where this incredible spice comes from. Long before we started worrying about damp basements and poorly ventilated bathrooms, the indigenous people of the Maluku Islands in Indonesia—historically known as the Spice Islands—were harvesting these aromatic flower buds. The buds were dried in the harsh sun until they turned into the hard, brown, nail-like shapes we recognise today. Ancient traders and sailors quickly realised that storing these spices alongside their food supplies dramatically reduced rot and spoilage. They did not know the science behind it, but they knew that wherever this spice went, decay stopped in its tracks. This was the first undocumented use of its fungicidal properties.
Evolution of Herbal Fungicides
As the spice trade expanded globally, apothecaries in Europe and Asia began distilling the buds to extract their highly concentrated volatile oils. By the 18th and 19th centuries, this extract was a staple in dental medicine due to its numbing properties, but housewives and ship captains also used it to scrub down wooden decks and stone cellars. They noticed that wood treated with the extract never succumbed to the dreaded rot that plagued so many sailing vessels. The evolution from a simple food preservative to a maritime protective coating paved the way for its eventual adoption into domestic cleaning routines.
The Modern State of Natural Cleaning
Fast forward to the current year, 2026. Consumers are exhausted by the endless parade of toxic household chemicals. We have seen a massive resurgence in traditional, biologically friendly cleaning agents. Modern homeowners are far more educated about indoor air quality and the dangers of volatile organic compounds (VOCs) emitted by synthetic cleaners. Because of this shift, botanical extracts have moved from the fringes of alternative lifestyle blogs right to the centre of mainstream home maintenance. Scientific validation has finally caught up with ancient wisdom, proving that what our ancestors used out of necessity is actually biologically superior to the synthetic shortcuts we invented in the 20th century.
The Power of Eugenol
Let us talk about the actual mechanics of why this works. The magic bullet inside this extract is a phenolic chemical compound called eugenol. Eugenol makes up about 80 to 90 percent of the pure essential oil. In the world of organic chemistry, eugenol is a known lipid solvent and a powerful antimicrobial agent. When fungal spores try to establish a colony on your wall, they rely on a protective cellular membrane made of lipids (fats) to keep their internal structures safe. Eugenol specifically targets and dissolves these lipid membranes. Once the protective wall is breached, the internal components of the fungus leak out, and the organism dies completely. This is vastly different from bleaching agents, which merely oxidise the melanin (the dark pigment) in the fungus but fail to break down the lipid membrane of the roots.
Spore Penetration Mechanics
The secondary advantage of eugenol is its molecular weight and vapour pressure. It is highly volatile, meaning it naturally wants to evaporate and spread out. When you apply the mixture to a porous surface, the water acts as a carrier vehicle, dragging the eugenol deep into the microscopic crevices where the mycelial network hides.
- Root Asphyxiation: The oil coats the microscopic roots, cutting off their access to airborne moisture.
- Enzymatic Disruption: Eugenol interferes with the enzymes that fungi use to break down your drywall for food.
- Vapour Toxicity: As the oil slowly evaporates over days, the fumes themselves create a micro-environment that is entirely toxic to new spores trying to land and settle.
- Long-Term Repellency: The residual microscopic film left behind alters the pH and the chemical makeup of the surface, essentially rendering it a hostile wasteland for future fungal colonisation.
Day 1: Assessment and Protective Gear
You cannot just start spraying randomly. First, map out every single area in your home that has a problem. Check behind heavy furniture, inside built-in wardrobes, and around window sills. Get yourself a good quality N95 mask, rubber gloves, and safety goggles. Fungal spores will become airborne the moment you agitate them, and you absolutely do not want them in your lungs. Open all the windows in the room to create cross-ventilation before you even open the bottle of oil.
Day 2: Mixing the Core Solution
Take your one-litre spray bottle and fill it with your water (or water/vinegar mix). Carefully measure out your 15-20 drops of pure essential oil. Shake it like your life depends on it. Test the spray mechanism in the sink to ensure it emits a fine, wide mist rather than a harsh, single stream. A fine mist is crucial because it ensures an even coating over the affected area without causing excessive runoff that might damage skirting boards or flooring below.
Day 3: First Application and Saturation
Approach the contaminated zone and spray the solution generously over the dark patches. You want the surface to be thoroughly damp but not dripping uncontrollably. Do not scrub yet! I repeat, do not touch it with a brush or cloth. If you wipe it immediately, you will just smear live spores across the clean sections of your wall, expanding the colony. Spray it and literally walk away. Close the door but leave the window open.
Day 4: The Waiting Game
This is the hardest part for impatient people. Leave the room alone for a full 24 hours. The eugenol needs time to penetrate the plaster, dissolve the lipid membranes, and travel down into the mycelial roots. You will smell a very strong, dentist-like odour throughout your house. This is completely normal and is actually a sign that the volatile compounds are doing their job. Just ensure the room remains well-ventilated so the smell doesn’t become overwhelming.
Day 5: Scrubbing and Extraction
Put your protective gear back on. Get a stiff bristle brush and a bucket of warm, soapy water. Now you can finally scrub the dead organic matter off your walls. Because the roots are dead, the black marks should lift away with moderate effort. Once you have scrubbed the area clean, wipe it down with a microfibre cloth dipped in clean water to remove the soapy residue and the physical remnants of the dead fungus. Throw the cloth away immediately afterwards.
Day 6: Secondary Preventive Spray
Now that the surface is physically clean and dry, it is time for the prevention stage. Take your spray bottle, shake it vigorously again, and apply a very light misting over the freshly cleaned area. Do not wipe this layer off. Leave it to dry naturally into the surface. This creates the protective barrier we talked about earlier, ensuring that any stray spores drifting through your home will die the moment they touch that specific patch of wall.
Day 7: Final Inspection and Ventilation
Do a thorough visual check using a bright flashlight. Check the edges and corners to ensure you did not miss any satellite colonies. Maintain good ventilation in that room for the next few days. If the room is naturally humid, like a bathroom, now is the time to commit to leaving the exhaust fan running longer after showers, or leaving the door cracked open. The oil is a cure, but good airflow is the ultimate long-term prevention strategy.
Debunking Common Misconceptions
Myth: Bleach kills absolutely everything permanently.
Reality: Commercial bleach is heavily diluted with water. The chemical burns off the surface layer of the fungi, turning it white and invisible. However, the water content soaks into the wall and actually feeds the hidden root system. The colony will recover and push through the paint again in a matter of weeks, often stronger than before.
Myth: You need to use the oil completely undiluted for it to work.
Reality: Pure essential extracts are incredibly caustic. If you put undiluted eugenol on paint, plastic, or varnished wood, it will eat right through the finish and cause permanent damage. A highly diluted mixture (a quarter teaspoon to a litre of water) is mathematically potent enough to kill spores without dissolving your house.
Myth: It works instantly on contact.
Reality: Biology takes time. The essential compounds need at least 24 hours to break down the complex cellular walls of the fungi. Rushing the process by wiping it immediately negates all the benefits.
Myth: All nice-smelling essential oils do the same thing.
Reality: Lavender or sweet orange oil might smell fantastic, but they lack the massive concentration of phenolic compounds required to rupture fungal cells. You cannot substitute just any botanical extract and expect the same clinical results.
Is it safe for pets?
You need to be highly cautious. Essential oils, particularly those containing eugenol, are highly toxic to cats and toxic to dogs in large amounts. Keep pets out of the room while spraying, and do not let them back in until the surface is completely dry and the room is fully aired out.
Can I use it on porous surfaces?
Yes, that is exactly where it excels. Unlike bleach, it is perfect for drywall, untreated timber, grout, and concrete. It penetrates the tiny holes where the roots hide.
How long does the strong smell last?
The intense, spicy odour usually lingers for about 48 to 72 hours, depending on your home’s ventilation. Opening windows and using fans will cut this time down significantly.
Will it stain my white walls?
If you stick to the correct dilution ratio, it will not leave a stain. However, if you use too much oil, it can leave a slightly yellowish, greasy residue. Always measure carefully.
Do I wipe it off immediately?
Absolutely not. Wiping it immediately only spreads live spores. You must leave it for 24 hours to ensure the organism is dead before you attempt to physically remove it.
Can it prevent future growth?
Yes, the microscopic residue left behind alters the surface chemistry, making it highly undesirable and toxic to new spores trying to land there. It is a fantastic preventative measure.
Where should I buy the right product?
Avoid cheap supermarket fragrance oils. Go to a dedicated pharmacy, a reputable health food store, or a certified aromatherapist supplier to ensure you are getting 100% pure botanical extract.
Final Thoughts
Dealing with damp and the resulting fungal growth can feel like a losing battle, but you finally have the upper hand. By ditching the toxic supermarket chemicals and opting for a biologically appropriate, scientifically backed botanical solution, you are protecting both your home’s structural integrity and your family’s respiratory health. Armed with this knowledge, you can permanently eradicate those stubborn dark patches. Go check your cupboards, grab a bottle of this incredible extract, and reclaim your living space. Share this guide with a friend who is fighting the damp this winter—they will thank you for it!







One Response